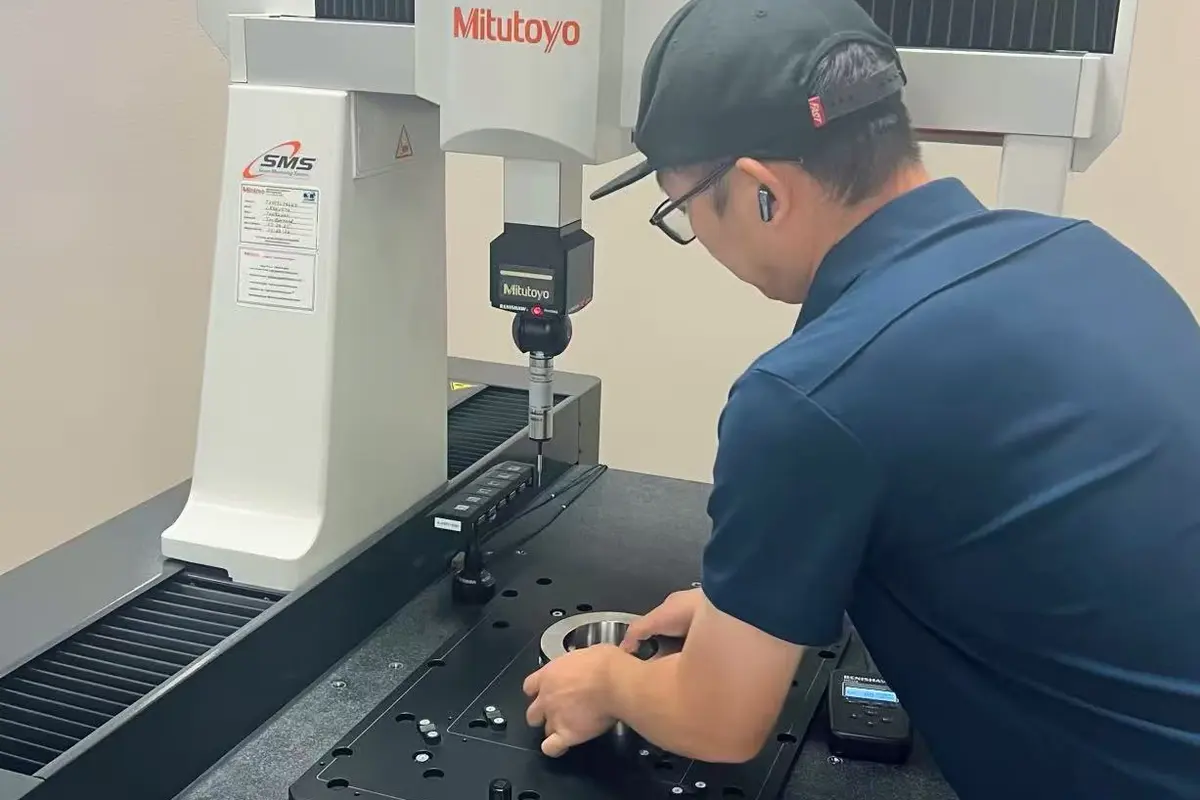
CNC prototyping removes material from stock to produce a physical sample for design evaluation. It is useful when the prototype needs machined interfaces, a specified engineering material or a production-relevant surface condition. Its value depends on how well the sample represents the question you need to answer.
This guide covers the manufacturing workflow. For test planning and pass/fail records, use the separate prototype parts validation checklist.
1. Define What the Prototype Must Represent
A fit-check model, a load-test component and a cosmetic sample do not necessarily need the same material, finish or inspection coverage. State the sample’s purpose before quoting.
For example, a housing intended only to check connector access may not answer whether the final coating changes a close-fitting bore. If a trial omits a production feature, record the limitation rather than treating the result as full design validation.
2. Freeze the CAD and Drawing Revision
Supply a usable CAD model and a drawing for dimensions, material, finish and acceptance requirements that cannot safely be inferred from the solid geometry. Identify the controlling revision on the quotation and purchase order.
Resolve unclear threads, blind-hole depths, edge conditions and datum references before programming. Put approved changes into a revised file or controlled written instruction. A comment in an old email is easy to miss when a second sample is ordered.
3. Review Geometry for Machining Access
Discuss deep pockets, thin walls, small internal radii and features requiring several orientations. The aim is to identify feasible alternatives without changing the product’s intended function.
Ask the supplier to separate mandatory changes from optional cost suggestions. A larger internal radius may be acceptable in an open pocket but unacceptable where another component must seat. Only the design owner should approve that trade-off.
Our complex housing video case provides a visual example of a central bore surrounded by pockets and mounting features.
4. Select Material and Sample Condition
Specify grade and stock condition. If an alternative is proposed because of availability, record which tests remain meaningful and which require a later production-material sample.
Likewise, identify whether the component is delivered as-machined, deburred, heat-treated, anodized, plated or otherwise finished. A finish is part of the sample specification when it affects the fit, wear surface, electrical contact or appearance being evaluated.
5. Confirm the Manufacturing and Inspection Route
| Stage | Decision to confirm | Useful record |
|---|---|---|
| Engineering review | Accepted geometry and open questions | Approved revision and deviations |
| Stock preparation | Grade, condition and documentation | Required material record |
| Machining | Access, setups and functional references | Agreed feasibility notes |
| Finishing | Coverage, masking and acceptance state | Finish instruction |
| Inspection | Critical features and methods | Identifiable sample report |
| Delivery | Identification and surface protection | Labeled sample package |
The exact route depends on the component. Turning may suit axis-based geometry; milling may suit pockets and mounting faces; a mixed part may require both. Confirm the route through the drawing review rather than assuming every prototype needs a particular machine type.
6. Understand Prototype Cost and Lead Time
Prototype pricing often includes engineering, programming and setup costs spread over a small number of parts. Material availability, secondary finishes and inspection can influence the schedule as much as the cutting operation.
Request quantity breaks and a breakdown of non-recurring charges. When comparing quotations, check that each supplier included the same material, finished condition, drawing revision and evidence package. Ask when the lead-time clock starts and what approvals it depends on.
7. Decide Between CNC and Other Sample Methods
Choose the process according to the test. A printed model may answer an early envelope or handling question; a machined sample may be more relevant for a specified material and mating interface. Neither method automatically proves that a later cast, molded or forged production part will behave identically.
State the differences between the prototype route and the intended production route in the test record.
8. Close the Sample Loop
Identify each received sample and connect it to the inspection report. Record assembly observations and requested changes before ordering another revision.
Do not overwrite the previous files without keeping the comparison. The change record is often what lets a manufacturer distinguish a design change from a machining problem.
For the next stage, see the pilot-to-production handoff guide.
CNC Prototype RFQ Checklist
Send the sample purpose, CAD and drawing revision, material grade, quantity, finish, critical features, inspection requirements and requested delivery destination. Mark any approved substitutions clearly.
Start a part-specific review through our contact page. Include the question the prototype must answer so the engineering discussion focuses on the appropriate sample condition.
Frequently Asked Questions
Can a prototype be made in the intended production material?
Often it can, subject to stock availability and manufacturability. Confirm the grade and condition rather than assuming the material description covers both.
Does a CNC prototype prove production readiness?
Not by itself. It supports the tests actually performed. Repeatability, production-route differences and batch acceptance still need review.
Is finishing necessary on the first sample?
Use it when the finish affects the feature or behavior being evaluated. If omitted, document that limitation and plan any required follow-up test.